SUPER NIMO
Super Nintendo Mobile
01/05/12
I love the SNES! It is still my favorite console from yesteryear and still get's more play than my 360, PS3, and Wii....combined. Right now, I am knee deep in EarthBound and can't wait to start something else. The thing is, I play a lot of "old school" jrpg's, which the SNES has in droves. The best thing is now I can play most of the non US releases that I never got to enjoy in my childhood, be it via Super Everdrive or cartridge reproductions. It is a great time to enjoy SNES games!
While watching a movie with my better half, I realized that it would be incredibly convenient to play games and watch the movie at the same time. Naturally I started looking for portable SNES options. Aside from emulating the games on an already portable device, I could buy a manufactured portable SNES. The SupaBoy and the FC16 Go are currently the only two portable SNES options. I thought about this route for a bit, both being less than or around $100.00 but they don't use actual SNES hardware which means not every games will be compatible. Also, both systems screens are small and not much can be said about their sound output. This won't do at all. I need to see the beauty of every 16bit pixel. I need to hear the SPC700 sing. I think I need to make my own portable SNES. :)
1/10/12
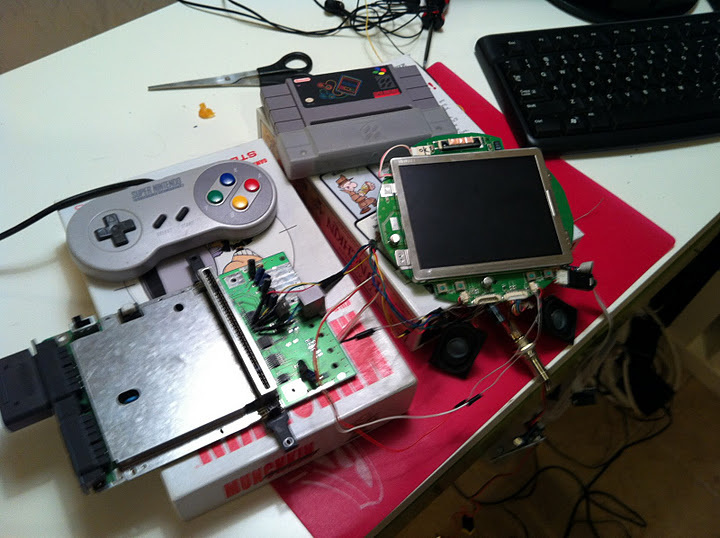
After receiving the SNES jr and the Zenith lcd (rebranded PSone screen), I promptly stripped them of their outsides to get them ready for their new life. Obviously, for them to work together I need to get the audio/video from the SNES the LCD. Easy peasy...if I just wanted straight composite video. I want more. I want RGB. If I am gonna do this thing, I am gonna do it right.
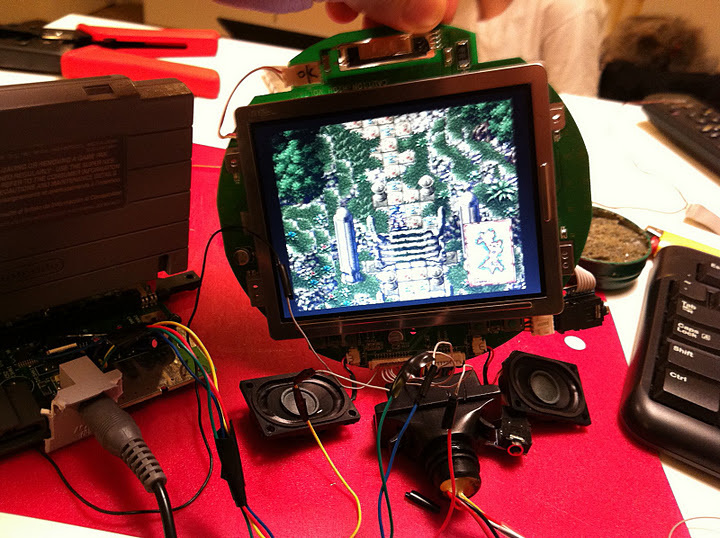
My initial test of the SNES and the lcd was via composite and it looked surprisingly good. I seriously thought about just running composite to the lcd to save myself some time and hassle but where is the fun in that? It isn't, that is why I am going to get RGB from the SNES to the PSOne screen. To do this, I followed an easy guide for the mod over at GAMESX.COM. Basically, you run 4 wires( 3 inline with a 75ohm resistor) from the S-RGB A video chip to the AV port for the RGB and csync signals. Since I de-soldered the AV port on the SNES to slim it down, I am going the run those signal directly to the PSOne screen. If this is something you are thinking about doing yourself, keep in mind that even though the PSOne lcd accepts RGB , not every lcd will. I don't which do and don't but I am sure that a search of the benheck or bacteria forums will point you in the right direction.
|
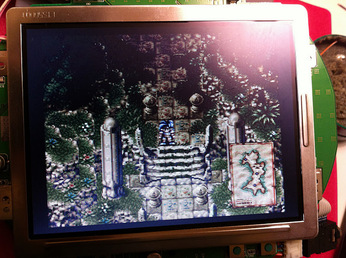
You may not be able to tell, but the screen is great for the SNES. The sound is pretty decent as well, though if you turn the volume up too much the speakers get a bit "tinny". To hook up the sound. I had to go from one of the chips on the mobo instead of the av port. This has something to with the way in which we will be powering the SNES. The process is detailed in an article here, by extremetech.
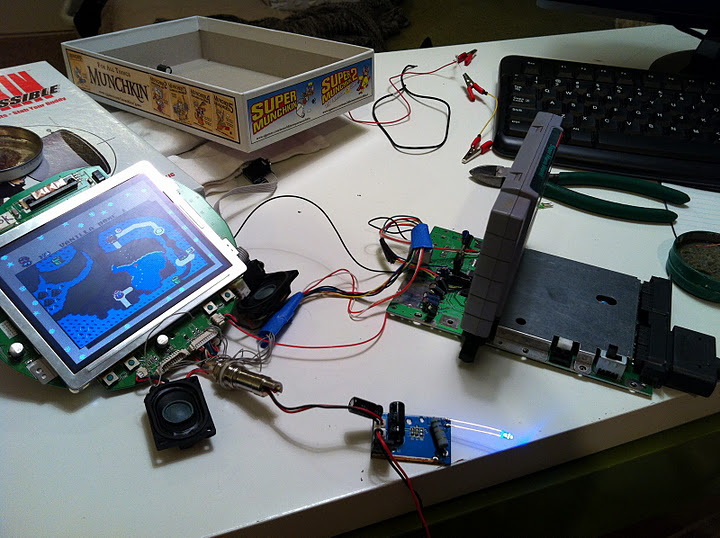
01/13/12 No we need to power the sucker. Later, we will be using batteries and I will detail that when they arrive. In the meantime, I want to hook up them up to run off a single psu. I am not sure about all the details. but this is easily achievable due to the fact the SNES draws very little power. I believe less than the lcd. To do all this, connect the ground from the SNES to the 7805 voltage regulator on the LCD, and then connect the 5v out from the same 7805 on the LCD to the 5v in on the 7805 on the SNES. Again, thanks to extremetech and hailrazer over at th ebacteri |
In this picture, the power button has not been removed from the SNES but at this point it is useless. I could flip the switch all day and it would'nt affect anything. The reset button still works but it hasn't been decided if I will keep it or not. Most likely is will be taken off. Next I will remove and rewire the cartridge connector. That will not be fun as there are around 62 pins in the connector with means 62 different spots to be de-soldered. I may need to buy a de-soldering iron for that.
*******************UPDATE 5/16/12************************
From here on out, I am going to focus on build the case for the portable. The reason being is that there already mush information regarding modding the electronics.
While I was in the initial planning stages for building my SNES portable, I had a few ideas floating around. One was a laptop style and one was going to be put inside a cigar box. One day while thinking about the different case styles, I had the SNES jr that was to be the internals for the portable, on my desk. That is when I saw it! The curve of the upper portion of the SNES jr case just looked soooo right. I held the case in my hand to get an idea and even with the bulk batoom half, it felt good. I knew what I had to do. I had a plan.
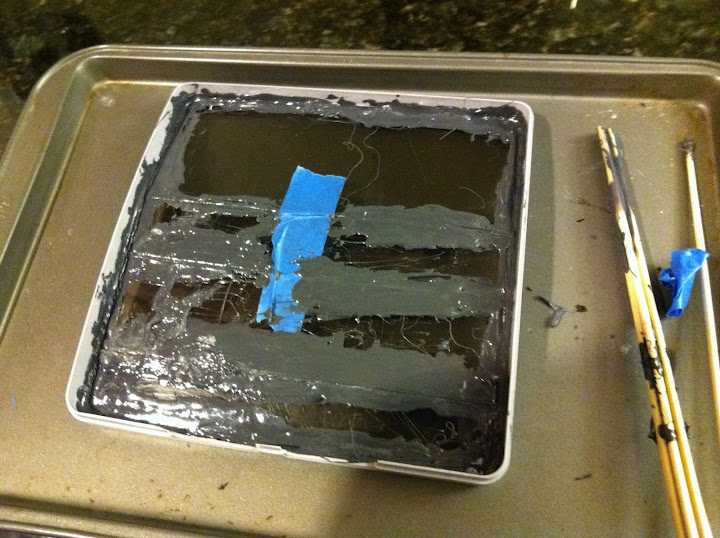
The first thing I did was dremel off the upper portion of the SNES jr. This was the very start. The bottom half needed heavy reinforcement and it needed to be strong. Using the left over plastic for the portion of the original case that I cut off , I made some ABS cement. With the fresh batch of ABS cement made, I cut a large piece of plastic from an old PS2 case, roughly the same size as the bottom of my portable case. Because the bottom half of the the new case it curved, I had to cut the plastic into strips and cement the in individually. Like this.
The ABS cement will bond to both pieces and create a very strong sing piece. Be careful using ABS cement on thin plastic as it cam warp whatever it is bonding to. To counteract this, I placed the upper portion my my case on top of the boom half ,while it was curing, to ensure that both pieces still match.
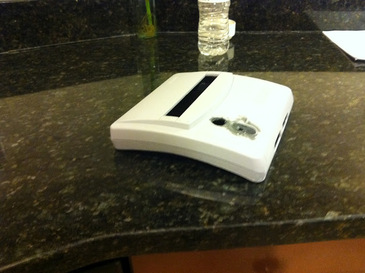
I also went ahead and filled in the power and reset button holes. The controller will need to be placed here, so it needed to be one whole surface.
Once the shell had a solid backing, I starting sanding down any and all excess ABS cement. This process needed to be done by hand and took a lot of time. My recommendation is to buy a lot of sandpaper, have lots of patience, and be mindful. Over sanding can easily warp the shell if you are not careful
Once the shell had a solid backing, I starting sanding down any and all excess ABS cement. This process needed to be done by hand and took a lot of time. My recommendation is to buy a lot of sandpaper, have lots of patience, and be mindful. Over sanding can easily warp the shell if you are not careful
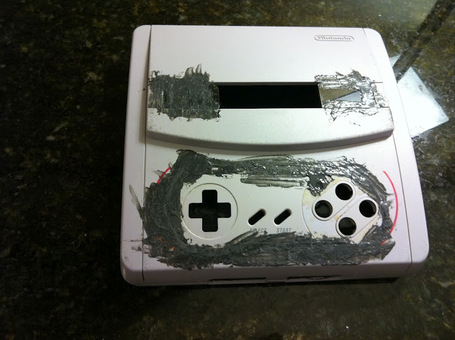
With the back of the shell sanded down, I proceeded with putting in the button holes for the controller.
One thing I learned form a previous portable attempt, was that making a good looking hole for a D-pad was not easy. So instead, I decided to simply cut a large enough hold in the front of the case, ABS cement it in, sand it down, and viola! Perfect layout. Please not that prior to this, I sat with the shell in my hand and took note of whereabouts my thumbs would land on it if buttons were there, hence the red marks you see.
One thing I learned form a previous portable attempt, was that making a good looking hole for a D-pad was not easy. So instead, I decided to simply cut a large enough hold in the front of the case, ABS cement it in, sand it down, and viola! Perfect layout. Please not that prior to this, I sat with the shell in my hand and took note of whereabouts my thumbs would land on it if buttons were there, hence the red marks you see.
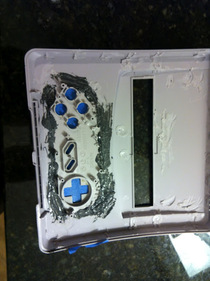
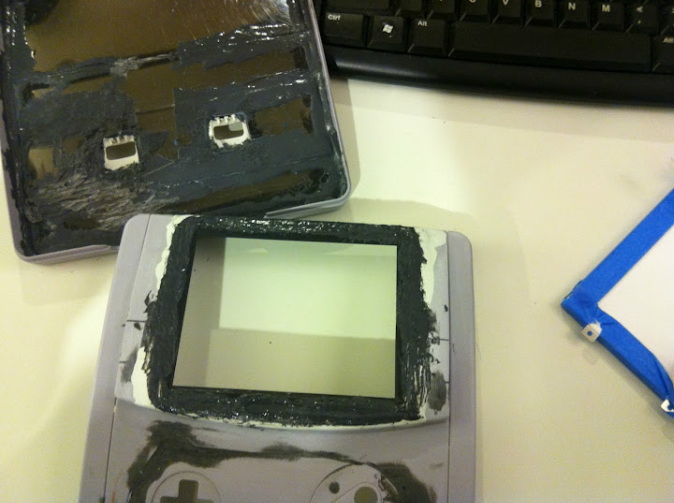
Here is the reverse side. Again, just like the bottom half of the shell, after the cement cured, I sanded down the excess to create a smooth surface. You can see it in the bottom pictures. And you can see the next step of the process. Adding the screen.
As before with the controller, I cut a just large enough hole in the top of the shell to accommodate the plastic frame around the screen. Unlike the controller, I cannot simply cement it in because the tip of the SNES jr has a curve to it as well, as you can plainly see. To allow for the flat frame of the LCD to fit into the curved surface of the shell, I had to build of the top of the SNES jr with some plastic epoxy. Basically a found a point where the SNES jr srface met with the flat LCD frame, cemented that portion and held it in place with epoxy. It did have to maintain the frame and shell in place to ensure that there wasn't anything going out of whack during the drying process. Thankfully the epoxy hardens somewhat quickly.
So once both the initial cement and epoxy had cured, I built of the cement on the bottom and more epoxy on top. This took some time as you really need to add both in small increments to make sure that proportions are even.
So once both the initial cement and epoxy had cured, I built of the cement on the bottom and more epoxy on top. This took some time as you really need to add both in small increments to make sure that proportions are even.
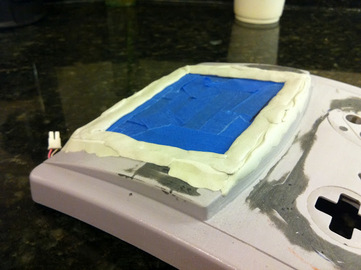
After adding enough epoxy and cement (and letting it cure of course), I began sand the epoxy down. This was a very loooooong process. I had to make it look like it was supposed to be there and since I was doing this by hand, I had to make sure that everything was even. Thankfully, if I happened to sand too much in one place, I could easily add more epoxy then sand it down to match. Since I was using ABS cement in some places, the color would be different in some spots. This would play tricks my eyes when I was trying to make the sides even.
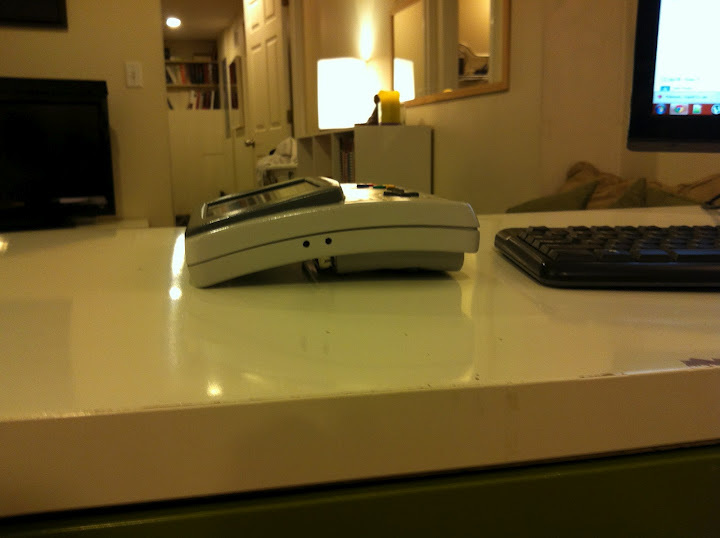
Everything came out ok though, as you can see from this side shot.
Everything came out ok though, as you can see from this side shot.
