gbsnaBox
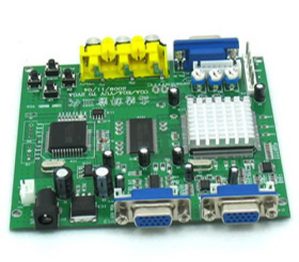
The GBS 8820 is a pretty common piece of equipment among retro console and arcade enthusiasts who need to retrofit old equipment into a modern vga capable screen. I am not going to go into too much detail because there are countless web pages already dedicated matter, but I will go into my particular mods.
Recently I was lucky enough to find an XRGB2-plus unit for cheap but before then I was using the GBS 8820. Other than the occasional flickering issue with certain games, this little guy works great. Not as good as an XRGB, but pretty darn good! Since my XRGB2-plus is connected to my LCD tv, I decided to put the GBS8820 into a project box to hook up and attach it to my monitor. This is more than a task because I also have the SCART to YUV connector (for best RGB input from older consoles) that I connect to the GBS 8820 as well. This adds input lag but ,for some reasons unknown to me, I have not been able to directly connect a SCART line to the vga in as detailed here. I spent more than a few hours working on it but could never get it to work properly. Oh well. I mostly play old JRPGS anyway and playing on my monitor will be minimum so it should'nt be an issue.
Since I will have both of the units working together, that means a lot of messy wires poking out of the sides and then trying to stuff it all inside the project box. I want a more elegant solution. If I directly solder the wires to their corresponding places on the pcb it will be much cleaner, take up less space in the box, and be easier to deal with.
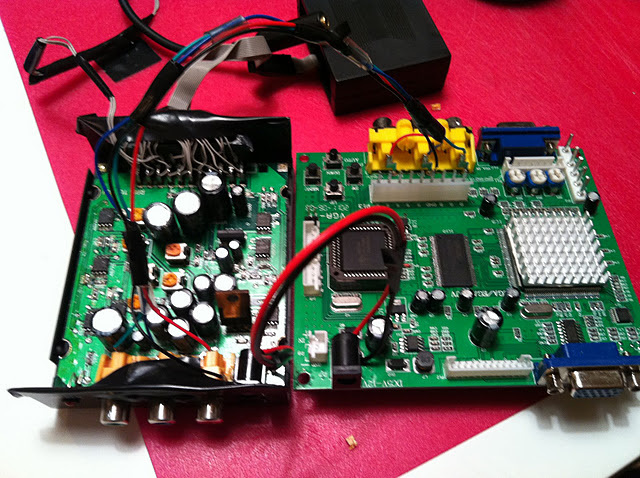
Naked and together. At last!
Here is what I did:
- Connect the AC inputs together.
- Directly solder the YPbPr lines together.
- Extend the SCART input connector.
- Add audio out.
- Rewire the control buttons on the GBS 8820
- Extend the vga's d-sub out
- Solder in power switch and fan
Ok, so after doing all of that, I had to put everything in a project box and cut out some pieces according to the layout of components. It didn't come out as pretty as I would have liked and maybe one day I will give it a proper paint job, but today it is very functional and much more aesthetically pleasing than the original setup.
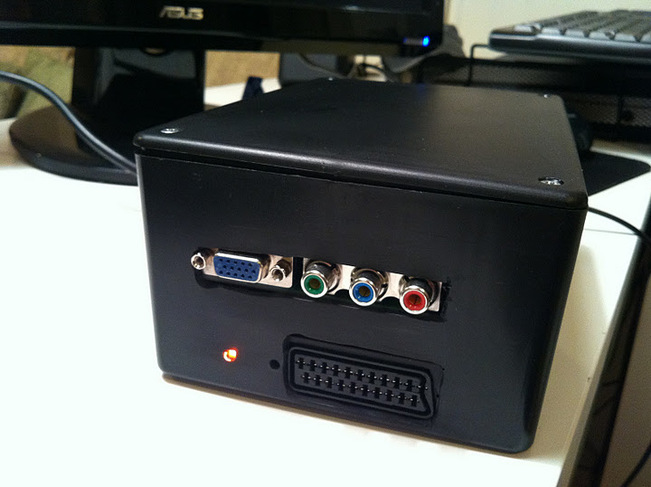
This is the front. European RGB scart on the bottom, VGA and YPbPr on top; and a nice little orange LED to let you know that it isn't malfunctioning. The buttons that control the GBS8820 are on the side.
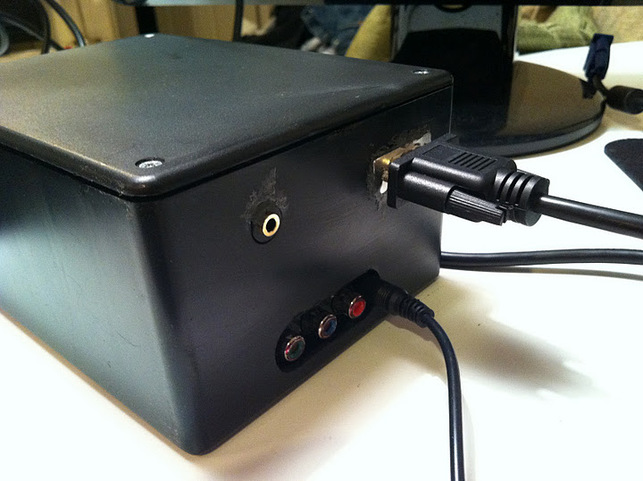
This is the rear. It's all business back here. You have VGA, stereo phono, and YUV out. I will probably never need the YUV out, but if I do, it is there. This also where the juice goes.
You can also notice the ABS cement I used around the phono and VGA connectors. I do plan on cleaning that up but I want it to cure a little longer first.
In the end, I decided to fore go the on/off switch and fan. I don't think either were necessary.
You can also notice the ABS cement I used around the phono and VGA connectors. I do plan on cleaning that up but I want it to cure a little longer first.
In the end, I decided to fore go the on/off switch and fan. I don't think either were necessary.
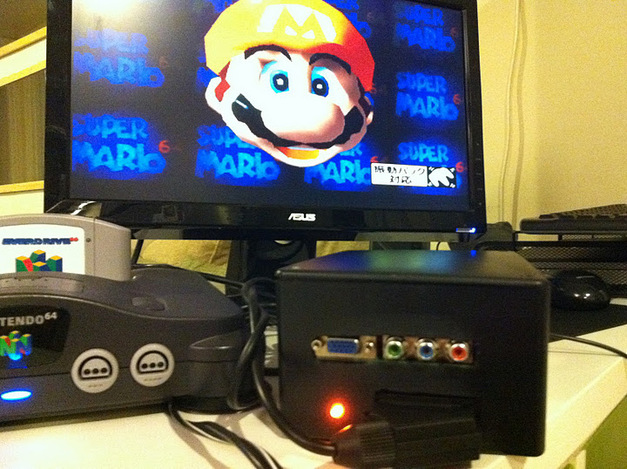
Mario is sooooo stoked right now.
And here is everything working in harmony. The picture quality is good...not as good as my XRGB2-plus but still good. Next to to the GBSNA Box is my RGB and Overclock switchable N64 with an odd blue light. The cart in the N64 is my Everdrive64 with my custom label and cart shell. More on that later.
When I get some time, I will post some pics of the inside of the GBSNA Box.
When I get some time, I will post some pics of the inside of the GBSNA Box.
